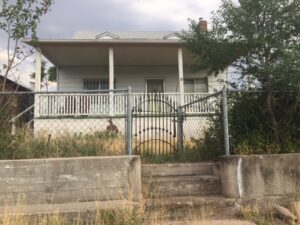
This fence project was one that had very little visual impact, but just made me feel better. Because of the large amount of work involved and the end result looking almost identical to how it originally looked, my neighbor jokingly called it “general mischief”.
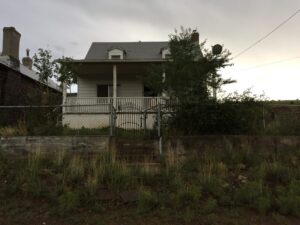
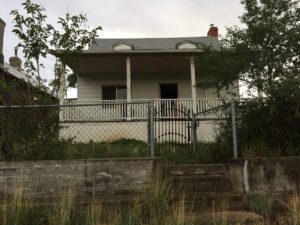
The short (about 30″ tall) chainlink fence surrounds the front yard of the house, with an old gate at the center. The chainlink fence had several problems:
- None of the support posts were set in concrete. The posts were just driven a foot or so into the dirt. This was probably sufficient for supporting the fence, and there wasn’t any sign of the posts shifting or settling, but it just wasn’t long-term right.
- The fence parts were all just a little crooked. The top rails weren’t particularly level, the support posts weren’t centered between the corner posts (only a few inches off, but visually irritating), the support posts were about 2″ too tall, leaving a gap in the fence at the bottom, there weren’t enough tension bands used, etc. Again, none of this was critical, but it bugged me.
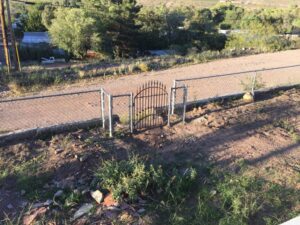
- The gate supports and “entryway” were angled to the left. This was the one that really made me want to re-do the fence. The porch stairs on the front of the house are currently on the left side of the house. Whoever put the chainlink fence in decided to angle the gate to the left to guide people towards the stairs. The angle of the left and right gate supports wasn’t consistent (one was angled about 10 degrees and the other was about 15 degrees), which looked pretty bad. Plus, we are moving the stairs to the front of the house, so the angle is unneeded. The angle is hard to see in the below pictures, but it was pretty pronounced:
I don’t particularly like chainlink fences, and this fence definitely didn’t fit with the house. The original fence was just simple wood posts, but many of the houses around here have wrought iron fences, which would have been nice, but expensive. However, at our previous house we had a chainlink fence that had english ivy growing through it, effectively covering up the chainlink. It was pretty and green, and offered good privacy. We are going to try the same thing here, and if the english ivy won’t grow for whatever reason we’ll just tear out the chainlink and put something else in. The ivy can get heavy once established, which is why I wanted all the support posts set in concrete.
I started by disassembling the old chainlink fence. Most of the posts came out easily, but it turns out two of them actually were set in concrete, so digging those up turned out to be a chore:
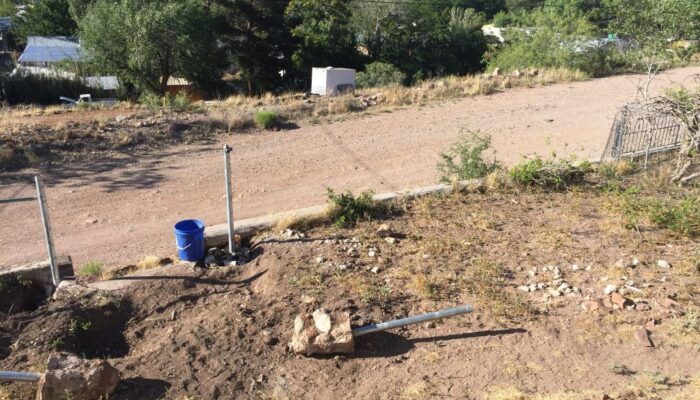
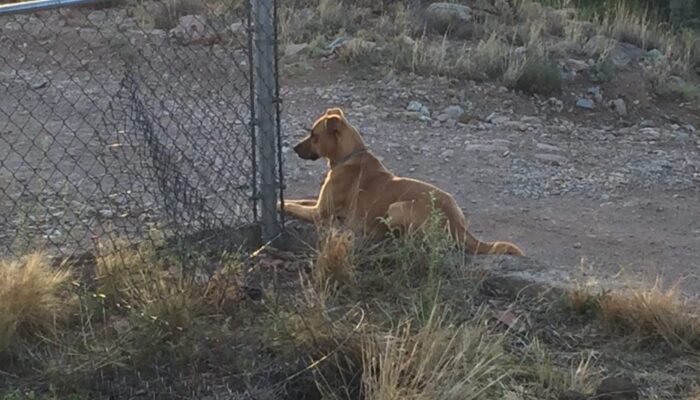
Of course, our dog loved this whole process. The lack of a fence allowed her to wander around the neighborhood, play with other dogs, visit everybody who walked by, and lead a generally fence-free life. Luckily this is a very dog-friendly town, so nobody minds that sort of thing, and in fact there are several dogs who wander from house to house during the day visiting anybody who will give them a little attention or treats.
There were a couple of ugly bushes and small trees growing near and in some cases through the old fence at various points, so I cleared those out as well. After all of the old pieces were removed I began setting the corner and support posts into concrete. I started with the support posts for the gate and entryway, and moved out from there:
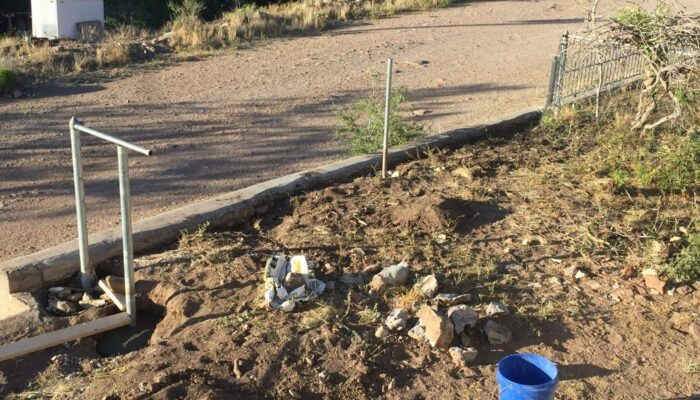
After setting the posts as close to a 90 degree angle as I could and letting the concrete cure for a week, installing the top rails, stretching the chainlink and installing the tension bands all went reasonably well. I found several good tutorials on the Internet that helped me through it, and it was easier than I expected. I had to buy a small come-along at Home Depot for about $20 to stretch the fence, but that was about the only tool I needed.
After getting everything put together, the final product:
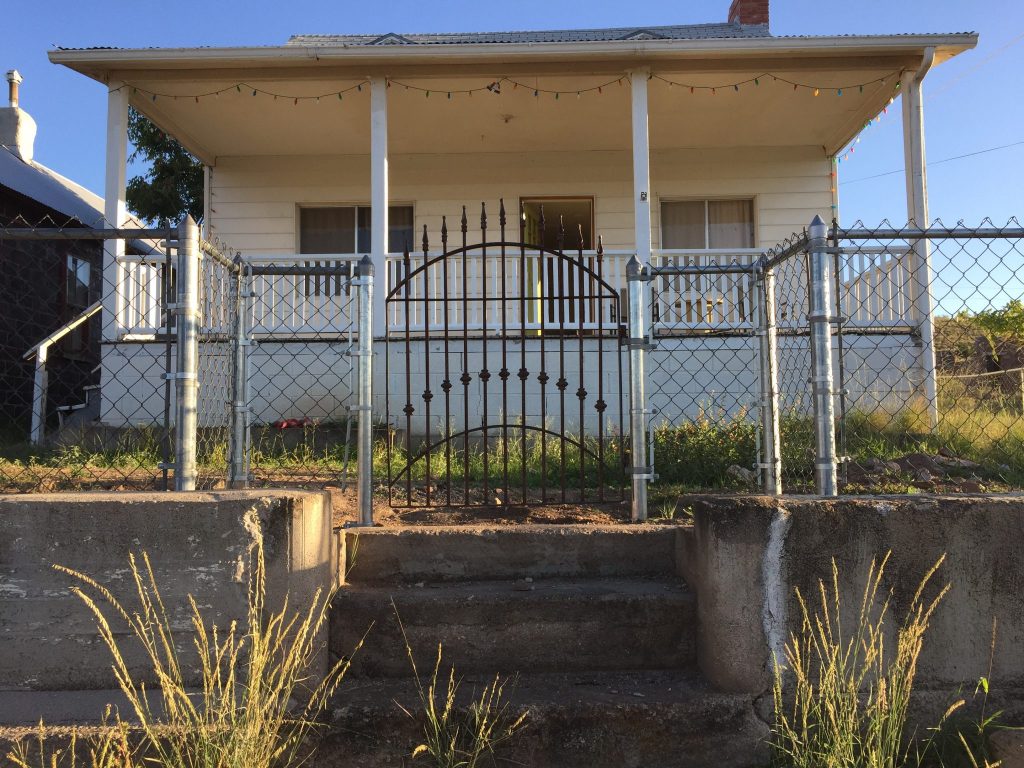
The top rails are now pretty level, everything is centered, and with all of the support posts being in concrete nothing should move around, even with the eventual weight of the ivy. I also made a few changes to the gate “entryway”:
First, I widened the entryway by about 2 feet. This will make it look less confining and more welcoming, and will also give the ivy room to grow. When the ivy is full grown it tends to grow out from the chainlink about 6 inches on top, front and back. This should effectively hide the chainlink, although it will take 4-5 years to fill in enough to do that. Our fence is much shorter, but when it’s grown in it should look similar to this:
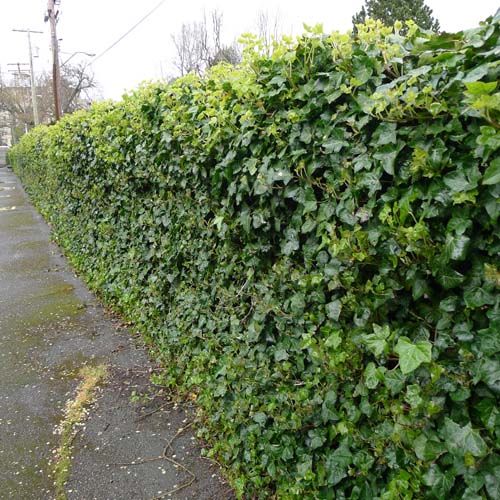
I also shortened the distance between the concrete steps and the gate. The original gate was about 3 feet away from the concrete steps, but since we are going to have the porch stairs extend out from the front of the house I wanted as much space as possible between them and the gate.
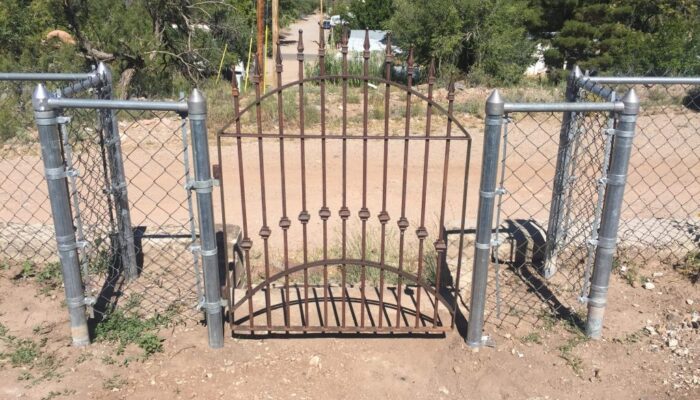
Hanging the old gate on the new chainlink fence went smoothly using standard chainlink gate accessories. We want to keep the old rusty look of the gate, which doesn’t match up well with the shiny new chainlink, but once the ivy overgrows the fence it should look fine:
I still need to mount the gate latch on the gate. I purchased a standard wall mount gate latch online for about $6, and my neighbor offered to weld it on next week:
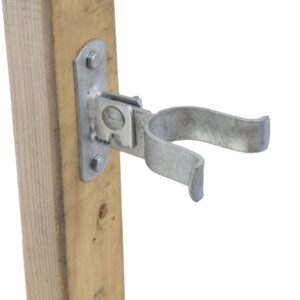
The latch was galvanized to prevent rusting, but I actually want the latch to rust to more closely match the gate. To remove the galvanization from the latch I soaked it in vinegar for about 24 hours (the zinc is gone when the part stops bubbling.) This also allows me to paint it should I decide to, and as welding galvanized steel produces some pretty toxic fumes, it won’t kill my neighbor when he welds the latch to my fence…
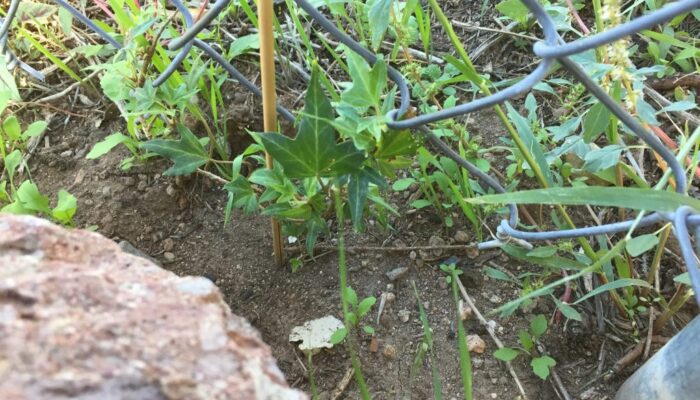
To finish the project we bought some english ivy online. The baltic version is supposed to better withstand the heat, which is necessary here as the temperature regularly gets into the high 90’s with relatively little water (about 12″ inches per year average.) The plants are small (about 3″) and I planted them about every 8 feet along the fence with some large rocks around them to provide additional shade. When they are full grown they should be adapted to the temperatures and be somewhat self-shading. Not sure if the deer will eat this, but hopefully not.
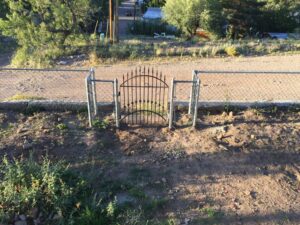
The before and after pictures:
So, after purchasing and installing about 1900 pounds of concrete, 2 additional corner support posts, a come-along and miscellaneous small fence parts, at a cost of about $200 and roughly 30 hours of work in the hot summer sun, we now have a fence that appears to be slightly different from the original fence. That’s my kind of project…

